Exploring the realm of audio can be both fascinating and alarming, most especially when faced with an audio mixer studded with myriad sliders, knobs and jacks. Regardless of whether you are starting a podcast, building a home studio, or preparing for live gaming streams, all require a mixer which is precisely your control center for sound management. It allows you to seamlessly blend, balance, and polish audio coming from multiple channels to achieve a professional sound quality in your project.
But where does one start with all the intricate mixes without straying too far into the technical jungle? Worry not, that is where this guide tailored for novices comes in. No studio degree is needed. From demystifying the workings of a mixer, relating a mixer’s functions, and connecting devices to managing levels, EQ, and output, we will make it easy for you. This blog explores multiple steps to set up audio mixers for beginners.
Looking for best ideas to install audio mixers at home in 2025? Read: Best Audio Mixers For Home Studios In 2025.
Multiple Steps to Set Up an Audio Mixer for Beginners
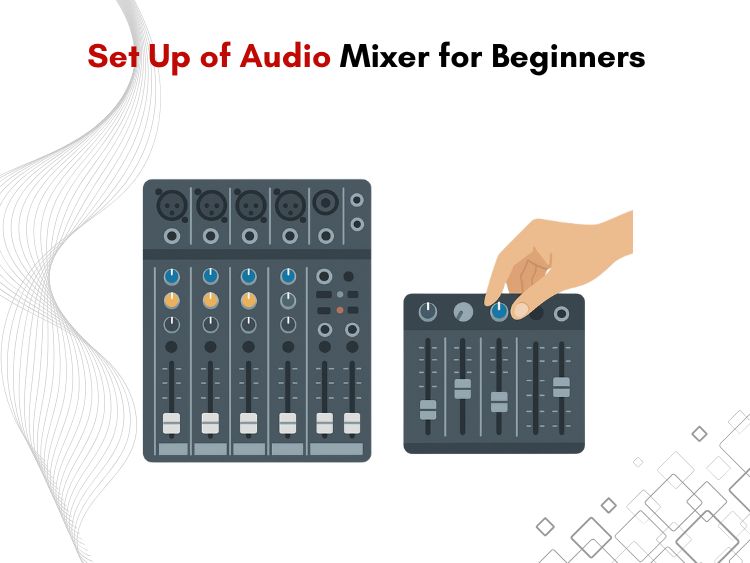
Learn the Components of Mixers Step by Step
Regardless of the size, all mixer models maintain the same parts:
- Input Channels: Each source receives a corresponding vertical strip (mic, instrument, etc.).
- Gain Control: Manages the input signal’s sensitivity.
- EQ Section: Enables altering of bass and midrange boost/cut and treble control.
- Aux Sends: Is used in listening or effect applications.
- Pan Knob: selects to the left or right stereo position for the signal.
- Channel Fader: Set the volume of each input to be used.
- Master Output: Directs the mix to the speakers or recording devices.
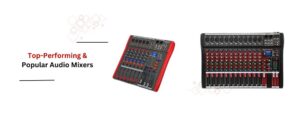
Start learning these parts because they will appear repetitively in both digital and Analog mixers. Looking to buy the most popular audio mixers in 2025? Buy 5 Core Audio Mixer 8 Channel DJ Equipment with Bluetooth USB Console.
Connecting Your System
You must connect all of the cables before turning the device on:
- Microphones’ Connections: Connect the microphone’s XLR with the mixer’s XLR input using XLR cables.
- Instruments/Devices Connections: Connect into line level input using ¼inch TRS or RCA cables.
- Speakers/Headphones Connections: The mixer’s main out goes into the speakers, and the headphone jack into your monitor headphones.
- Power Adapter: The mixer should be the last to be plugged in, as it may cause some amplifier disconnects and other electrical noises.
Utilizing EQ to Create Shaping Sounds
The majority of beginner mixers enable 2-band or 3-band EQs on each channel. This allows you to:
- Decrease the low frequencies and remove undesired boomy resonances.
- Lower the mids to minimize muddiness.
- Increase the sharper end for more clarity and brightness.
Add EQ to simply adjust certain audios. Adding AND adjusting always should be minimal because it can ruin “the dish.
Pan for Stereo Clarity
Using the pan knob allows you to put each sound in its proper place in the stereo field. For instance:
- Leave vocals at the center.
- Guitar can be panned to the left a bit as well as the keyboard to the right a bit.
- This helps create space and gives ease to the ears.
Control Volume with Faders
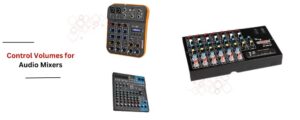
Start to incrementally raise the channel fader for each input one at a time while paying attention to the main output. Make level adjustments so you do not have any sounds dominating or overloading the mix. The master fader should stay close to unity (0 dB), unless there are other stated needs.
Tip: If a source sounds weak, check the gain knob and not the fader.
Use Aux Sends for Effects or Monitoring
Some mixers come with Aux Sends, therefore giving the user the ability to:
- Forward signals to external effects, for instance reverb or even delay. Build a monitor mix for the performers who are using headphones or in-ear monitors.
- Not a requirement for basic setups, however a good feature to look into as you improve.
Monitor Your Output
Always remember to check your output with the following:
- For precise monitoring use headsets.
- While outputting through speakers, check the volume level first and put it at low.
- To test for noise or distortion, record a short sample.
- Check to be certain all your cables and connections are secure. Check if the cables are causing any buzzes or hums.
Summing Up!
Establishing an audio mix should not feel as if it is an economic problem to be solved in terms of rocket science. If you follow these simple steps: knowing your mixer’s design, making relevant connections, setting gain such that the desired audio level is achieved, shaping EQ, and balancing levels, you will be able to achieve clean, professional sound. For the top-performing audio mixers, check the best collection of 5 Core audio mixers.
Standing in front of a podcast microphone or in the last with instruments follows the same functionality where the switched sound mixer can be treated as an audio ally. So now that you understand the fundamental principles of the sound mixer, go out and mix like a true maestro.