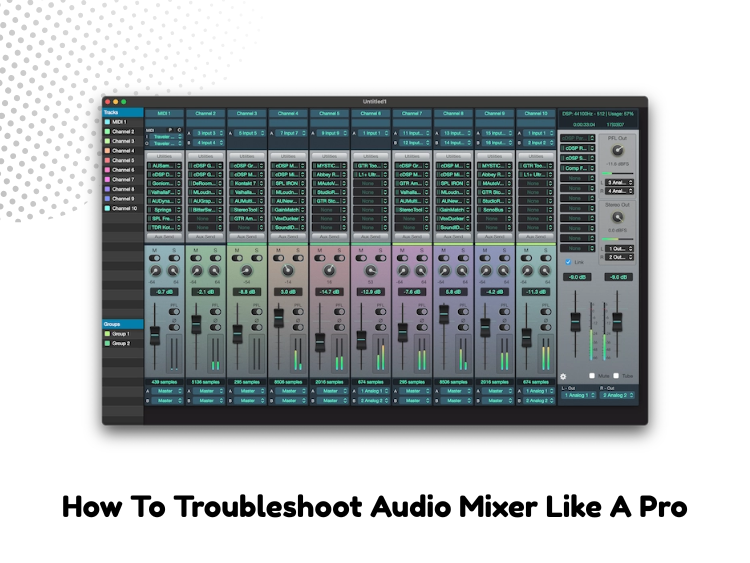
It doesn’t matter if you’re working in a studio, running live sound, or having problems with your audio mixing. The annoying part? Most of the time, these issues are caused by a few main things. You can find and fix them like a pro if you are patient and follow a clear step-by-step plan.

Do Something Simple First: Check Your Power
Do the easiest thing first: Is everything turned on? Then move on to knobs, faders, and routes.
- Power Supply: Make sure that power is getting to the audio mixer. Look for LED lights or screens that show information.
- Cables: Check the power cord and the point where it connects. A wire that is loose or broken could be to blame.
- Power Source: Look at another device while plugging into a power strip or extension cord to ensure it works.
It may seem clear, but much time has been spent fixing problems with equipment that wasn’t even turned on.
Check All of the Connections
A broken wire or a bad link is often wrong with a mixer. Make a full check:
- Input Cables: Check the cables that connect mics, instruments, and any other inputs to the mixer. Change them one at a time with wires that you know will work.
- Output Cords: Ensure the cords connecting to your speakers, headphones, or audio link are safe and working.
Loose Jacks: When a jack looks like it’s plugged in but isn’t, it’s called a loose jack. Put all the plugs back in.

Figure Out How Signals Move
It’s easier to determine what’s wrong when you know how sound moves through your mixer. This is what signal flow usually looks like:
Input → Preamp → EQ → Aux Sends → Fader → Output
You can figure out where the signal is going bad once you know this. As an example:
- There may be a problem before or at the preamp if the input data doesn’t show up on the level meter.
- There may be a problem with the wiring, switch, or output stage if the signal shows up but doesn’t go to the speakers.
- Monitoring solo channels with headphones will help you figure out where the signal goes away.
If you’re looking for a clearer understanding of your mix, these mixing tips for live streaming will help.
Look at the Gain Structure
For clear sound, gain building is very important. If it’s too low, the signal will be noisy. If it’s too high, the signal could become distorted.
- Set the channel slider to unity (0 dB) to start with the Gain Knob. Then, watch the level meter as you slowly turn up the gain.
- If the meters are going into the red, turn them down. A good sound depends on a clean signal and being at the right level.
Your mixer may have a pad button that you can press to lower the input strength if your sound is too strong.
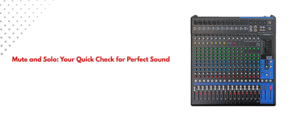
Check Everything Twice with the Mute and Solo Buttons
You would not believe how often blocked channels make things worse.
- Mute Buttons: Look for the small, easy-to-miss mute buttons on each channel.
- Solo Mode: If you can’t hear a channel, make sure you aren’t soloing another one by mistake.
- Monitor Bus: Check your monitor source choices if you are using headphones or outputs from the control room.
Test with a Source You Know Is Safe
Plug in a source that you know will work, like your phone or a clean audio track, to get rid of the uncertainties.
- Connect it to a line-in speaker.
- Send the sound to the main mix.
Look for Damage or Wear on the Mixer
Mixers are strong, but they can be broken.
- Crackling or Dropouts: These can happen if the faders or pots are dirty. Clean them out with a contact cleaner.
- Knobs That Are Loose: Wiggle the knobs and faders slowly. Too much moving could be a sign of wear inside.
- Check Visually: Look for parts that are burned, links that are broken, or signs of damage from water.

Go Back to the Original Settings
Digital mixer route problems can be fixed by resetting the program after hardware and cable problems have been checked out.
- For information on how to restart your mixer, look in its guidebook.
- Before you start, save any important scenes or settings.
- After rebooting, use a known source to test each channel to make sure it works.
Look at the Manual (Really)
It’s not very exciting, but the manual that came with your mixer has all the answers. What you’ll find is:
- Diagrams of how signals move
- Details on keys and modes that aren’t as well-known
- How to fix problems that are specific to your model
Always Have a Plan B
Gear fails sometimes. Always have a plan B, especially for live shows or videos that are very important to you.
- Have extra cords, a small backup mixer, or an audio adapter on hand at all times.
- Make sure your setup works before the big day so you don’t have to rush at the last minute.
Conclusion
Problems with audio mixers can be scary, especially in high-stress situations. But if you stay cool and take things one step at a time, you can fix problems like a pro. Start easy, learn your gear, and figure out what’s wrong. These skills will save you time, stress, and maybe even your gig, whether you’re a beginner or a pro.