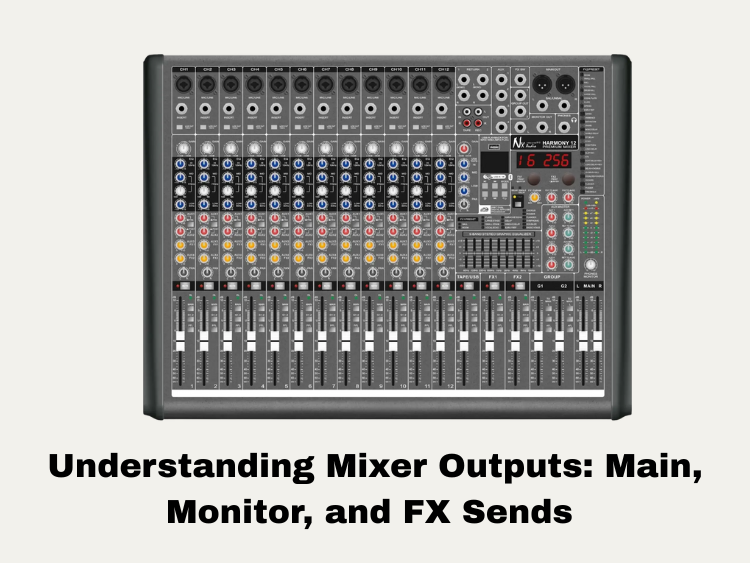
If you’re doing live sound, recording in a studio, or even just streaming from your room, it’s super helpful to understand how to use your audio mixer’s outputs. At first, mixers can look kind of intimidating with all the knobs, faders, and jacks. But once you get the hang of the three main output types—Main, Monitor, and FX Sends—it all starts to make sense. In this article, knowing how each one works will give you way more control over your setup and help you feel more confident running the show.
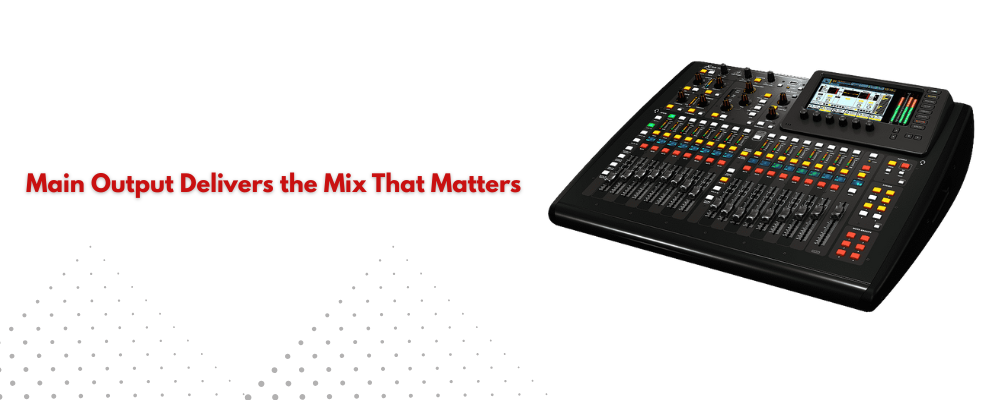
The Main Output is the Final Mix
The Main Out is the main output of your audio mixer. It’s the result of mixing, EQing, and balancing all the channels. This is the sound that people hear during a live show or what is recorded or streamed in a studio.
Where It Goes:
- Live sound: To the PA system or front-of-house (FOH) speakers.
Studio: To speakers or recording inputs for the studio. - Podcasting and streaming: To your computer, an audio recording, or tools for streaming.
How to Handle It:
- The master fader or knob changes the volume of everything in your mix as a whole.
What’s in the main mix and how it sounds are controlled by the pan, EQ, and channel faders. - It’s your “big picture” mix, and the main idea is what you want everyone to hear.
Want to make your mix sound even more polished? Check out this guide on how to add EQ to get a professional sound.
Monitoring Outputs: Mixing for Artists
Monitor outputs are for the musicians, while the main output is for the public or the finished result. To stay in sync, musicians need to be able to hear each other and themselves clearly when they play live. Monitor outputs let you make your own mixes that fit your needs.
What It Does:
- Live Sound: To stage monitors or in-ear monitor (IEM) systems.
- Studio: To headphones or control room speakers.
Key Features: Pre-fader vs. Post-fader
- Pre-fader: The main channel control doesn’t change the levels of the monitors. Ideal for maintaining a consistent monitor mix regardless of changes in the main mix.
- Post-fader: Monitor mix changes with the main channel fader. This helps performers hear what the crowd hears.
Aux Sends:
- Most monitor mixes use auxiliary (aux) sends, which allow you to choose how much of each channel is sent to a monitor.
- Many mixers offer multiple aux sends, letting each performer have a unique mix.
Example: A vocalist might want to hear more vocals and piano, while the drummer may need more bass and a click track. With aux sends, it’s all possible.
New to setting up a mixer? Check out our audio mixer setup guide for step-by-step help.

FX Sends: Adding Reverb, Delay, and More
FX Sends (effects sends) route parts of your signal to external or internal effects processors like reverb, delay, chorus, and more. They’re usually used to add depth or ambiance to your sound without affecting the dry (original) signal.
Where It Goes:
- To built-in effects (common in digital and powered mixers).
To external effects units, then typically back into the mixer via FX return channels or an available input.
How It Works:
- It works with an FX send knob that lets you change how much of each channel is sent to the effects unit.
- The sound that was treated is mixed back into the main output or sometimes into monitor mixes if that’s what the user wants.
FX Send Types:
- Post-fader FX Sends: Standard for time-based effects like reverb and delay. This ensures that when a vocal gets quieter in the mix, the reverb or delay also reduces accordingly. This is because the send level follows the fader.
- Pre-fader FX Sends: Rare for effects, but sometimes used in creative applications.
Pro Tip:
Don’t overdo it. A little delay or reverb can make singing and instruments sound better, but too much can make the mix sound bad, especially in live sound, where the room already has an echo.

Putting It All Together
To understand how these outputs work in harmony, imagine you’re mixing a small band at a live gig:
- The Main Out delivers a well-balanced blend of instruments and vocals to the PA system.
- Monitor Outs (via Aux Sends) lets the lead vocalist hear mostly vocals and piano, while the drummer’s monitor emphasizes bass and click track.
- FX Send adds reverb to the vocals and snare drum, creating a fuller, more professional sound.
Each output plays a specific role and serves a specific audience:
- The Main Out for the crowd
- The Monitors for the performers
- The FX Sends for enhancing the experience
Tips for Clean, Effective Mixing
- Label everything: This is especially important when running multiple monitor mixes and FX returns.
- Gain preparation is key: Make sure input amounts are adjusted before changing outputs.
- Solo and stop wisely: Use these tools to check individual signs without breaking the whole mix.
- Use headphones: Monitor outputs and FX sends can be easily misread without careful listening.
Shopping for a budget-friendly mixer? Don’t miss our audio mixer buyer’s guide under $200.
Last Thoughts
By comprehending and effectively utilizing your mixer’s Main, Monitor, and FX Sends, you gain greater control over your audio environment, leading to more professional and polished sound productions. If you’re involved in the pro audio space as a business owner, distributor, or integrator, platforms like 5 Core’s business site provide helpful access to scalable audio solutions and resources tailored for professional collaboration and inventory expansion.