If you want to take your live performances, recordings, and broadcasts to the next level, an audio mixer is an essential piece of gear for producing professional-quality sound. A correctly configured mixer will give you a clear, balanced, deep audio output. Apply these sound mixer setup steps and optimize your equipment.
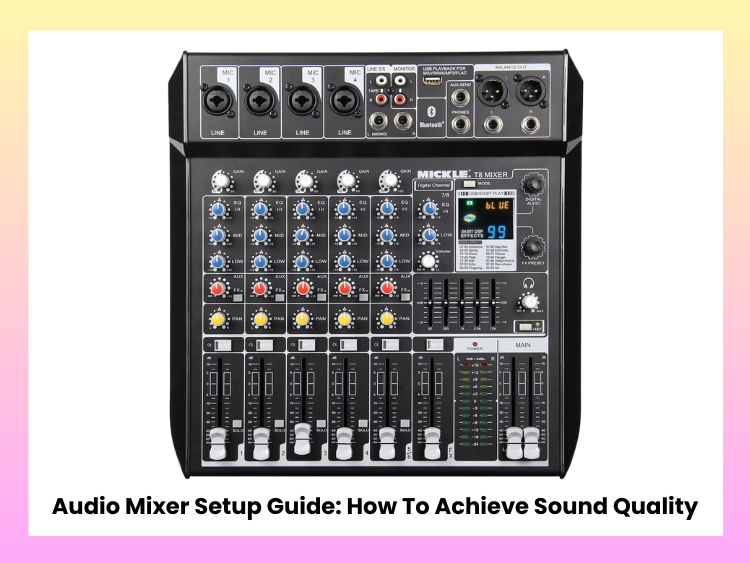
Understanding Your Audio Mixer
Before getting into the setup process, familiarize yourself with your mixer’s components. Here is a rough list of what most mixers have: input channels for microphones, instruments, and other audio sources gain (trim) controls to adjust the level of input signals, EQ knobs for shaping the tone auxiliary (aux) sends for external effects and monitoring pan knobs to adjust the stereo position faders to control the volume of each channel a master output section for overall volume and effects.
Connecting Your Audio Sources
Proper wiring will be essential to avoid unwanted noise and signal loss. Make sure that the microphone uses high-quality XLR cables to minimize interference. Patch the instruments with TRS (Tip-Ring-Sleeve) or TS (Tip-Sleeve) cables. If you are utilizing a digital audio interface, ensure that it is compatible with your mixer. Maintain the confusion to a minimum during mixing, and label each input.
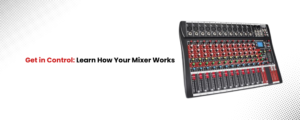
Setting the Gain Structure Properly
Gain acts as the volume control for each stage of your audio signal chain. Adjust it using the gain knob in your DAW or mixer to achieve a clean signal. Start by setting all faders and gain knobs to their lowest positions. Play back audio or speak into the microphone while gradually increasing the gain. Monitor the peak meters, ensuring levels stay out of the red zone to prevent clipping. Adjust the gain so that the loudest parts remain within the mixer’s optimal range, maintaining clarity without distortion.
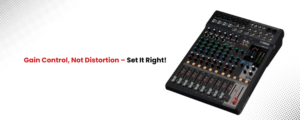
Adjusting Equalization (EQ)
Adjusting EQ settings helps shape the tonal balance of your sound. Low frequencies (bass) can be boosted for warmth, but excessive muddiness should be reduced by cutting certain low-end frequencies. Both low and high frequencies can be adjusted to either brighten the sound for clarity or dull it slightly to reduce harshness. Treble may be boosted for added brightness, but avoid excessive sharpness to maintain a natural tone. High-pass filters (HPF) are effective for cutting out unwanted low-frequency noise, such as wind interference, and improving overall sound clarity.
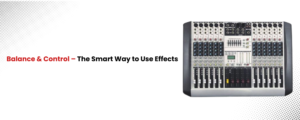
How to Set Up Aux Sends
Aux sends can be used for monitor mixes, sending a custom mix to the performers through the stage monitors or in-ear rigs, as well as for effects processing to send signals to outboard reverb, delay, or other effects. Fine-tune the aux levels for each channel to ensure the right mix in the effects without overwhelming the main output.
Pan and Stereo Imaging Settings
Panning allows you to position sounds in a left and right soundstage so that it creates that immersive experience. Put bass-heavy instruments, like the kick drum and bass guitar, in the center. Instruments and backing vocals can be panned a little to the left or right for depth. Very extreme panning when mixing should be avoided to have an overall balanced mix.
How to Use Compression and Effects Wisely
While effects and dynamics processing can improve sound, you should restrain yourself and then resist during various stages. Limiting dynamic range ensures consistency across the mix, and for that, you need compression. Compressors add consistency to the sound, but bad settings can ruin the recording because noise gates reduce unwanted sounds in the background. Effects should be used judiciously to enhance, not overpower, the natural sound.
Balancing the Mix with Faders
Use faders to balance the volume of all channels. Have all faders low and add them up gradually. Lead vocals and key instruments should pop above the mix. Monitor peak unwanted sounds and adjust as needed.
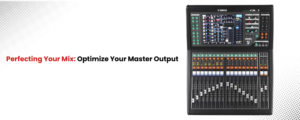
Optimizing Master Output
Fine-tune to your master output settings for the best sound. The master fader is the last step in our signal chain. Reference in the mix on good quality headphones or reference speakers. Adjust your EQ and gain accordingly.
Testing and Monitoring
Catch a good, long sound check after setup. Walking around the venue or listening through different playback systems. If fine-tuning is necessary, which could occur because of room acoustics or because of the audience location, make minor adjustments. Make real-time adjustments. Monitor and adjust settings in the app as needed throughout the performance.
Conclusion
Setting your audio mixer up correctly means clear, pro-quality sound. With a good knowledge of your mixer, proper gain settings, use of EQ, and mix balance, you can get the best audio result possible. Just like gear, regular testing and tweaks will show us what delivers the best sound for our environment and performances.