Recording good audio on a PC calls for a consistent connection between an audio mixer and the computer. Whether your work is podcaster, musician, content producer, or otherwise, knowing how to include a mixer into your recording configuration can greatly increase sound quality and versatility. Following the right procedures guarantees that your recordings are free from undesired noise and distortion and maximizes the features of the mixer.
Know Your Tools
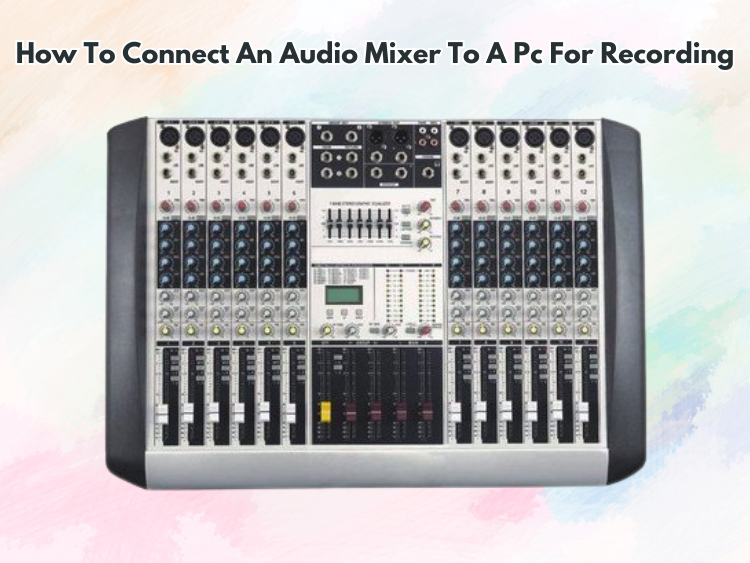
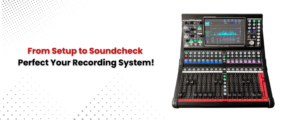
One must first know the elements involved before delving into the connecting process. An audio mixer is a device that combines many audio signals, processes them, and channels them to an output. Simple two-channel mixers to massive professional-grade consoles are among the range of mixers in size and use. When the mixed audio is captured using a recording program or digital audio workstation (DAW), the PC functions as the recording and processing unit.
The many output choices available on audio mixers are RCA, 3.5mm, 1/4-inch (6.35mm), and XLR. The input choices on your computer will determine the connections and adapters you need; usually, these options include a line-in port, a 3.5mm microphone jack, or USB audio interfaces.
Selecting the Correct Connection Technique
Each of the many methods of connecting an audio mixer to a PC has benefits and drawbacks. Usually, one uses an external audio interface, a USB mixer, or an analog connection over a 3.5mm cable.
For simple configurations, a direct connection from the mixer’s output to the PC’s microphone or line-in socket will be enough. 3.5mm cables: Should your mixer have RCA or 1/4-inch outputs, you will need a suitable cable or converter to link it to the 3.5mm input on your machine. Because of the computer’s built-in sound card restrictions, this approach performs well for casual recording but might cause undesired noise or quality loss.
An external audio interface is advised if one wants improved sound quality using an audio interface. Using USB, the interface links to the PC and offers high-fidelity audio conversion. Balanced TRS or XLR cables let you feed the main output or control room output of the mixer into the audio interface. This arrangement drastically lowers delay and greatly increases sound clarity.
Many contemporary mixers have built-in USB connections, which lets a PC directly plug in and operate. While they provide a simplified way for recording high-quality audio without extra interfaces or adapters, USB mixers usually need driver installation and setup.
Making the Connection
You may start configuring the hardware and software after you have decided on the connection technique that best fits your requirements.
Connecting the Hardware:
- Connect the primary output of the mixer to the PC’s line-in or microphone connector if using a 3.5mm connection.
- Using the appropriate cables, connect the primary output of the mixer to the input of an audio interface.
- Connect a USB mixer to the PC only using a USB cable.
- Make sure all connections are secure; use quality cables to reduce interference.
Changing the PC’s Settings:
- On your PC (Windows: Control Panel > Sound > Recording Devices; Mac: System Preferences > Sound), open the sound settings.
- Choose the appropriate input source—Microphone, Line-In, USB Audio Device—that matches your connection technique.
- Change the input volume to a level that is the best fit to avoid distortion or clipping.
Configuring Recording Systems:
- Install and launch Audacity, Adobe Audition, GarageBand, or another digital audio workstation (DAW).
- Choose from the audio options the appropriate input device.
- Speak or play sound over the mixer to test the audio levels, then track the DAW levels.
- To control the sound on the mixer, change the gain and equalize settings.
Common Problem Debugging
Problems might develop while recording, even with the right configuration.
- If you have low audio levels, make sure the PC input gain is suitably set by looking at the main output volume of the mixer.
- Shielded connections help frequently alleviate unwanted noise or static by eliminating ground loops, guaranteeing the mixer and PC are correctly grounded, and thus reducing the use of an audio interface or tweaking buffer settings in the recording program, which can assist if latency or delays develop.
Improving Your Recording System
Use extra equipment such as studio monitors, pop filters, and dynamic or condenser microphones to get professional-grade recordings. Audio clarity may also be much improved by using high-quality preamps and balanced XLR connections. Further improved recordings will come from applying EQ, compression, and reverb within your mixer and DAW.
Final Thoughts
Connecting an audio mixer to a PC for recording calls for careful hardware, software, and configuration parameter evaluation. Following the correct procedures and debugging typical problems can help you produce excellent recordings fit for your creative requirements.