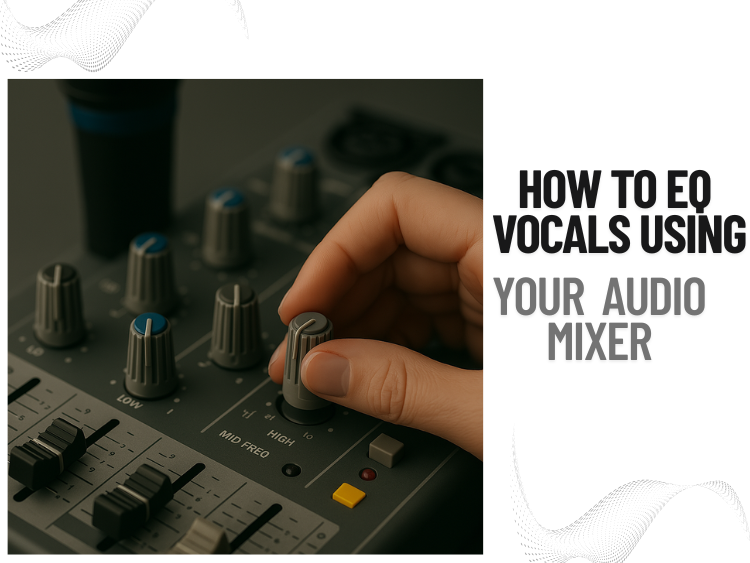
Introduction: EQ Is Your Best Friend for Clearing Vocals
Have you ever wondered why your favorite songs sound so much more refined and professional? The answer is simple: i.e., equalization, or EQ, is the process of shaping the frequency response of an audio signal to enhance its clarity and character.
Here’s some good news: EQ doesn’t have to be some kind of esoteric art known only to audio wizards. With the right technique and some experience, you can create vocals that slice through the mix as clear and precise as a surgeon’s knife.
1. Start With a Clean Slate
Hear the vocal alone, then ponder how it meshed pretty seamlessly in the mix. Do you have any immediate concerns? Does it sound too flat, too spiky, or too muddy? Listen to your ears before you adjust anything on the knobs.
Tip: Make sure your gain staging is tight before you start touching any of those EQ knobs. Adjust your input gain to get lots of vocal signal but no clip. If your levels are screaming hot or way too soft, EQ isn’t going to do much for you.
2. Know the Vocal Frequencies
Here’s a quick roadmap:
- Sub-bass (20 Hz-60 Hz): Not a ton of vocals here unless you’re tuning for that super deep, lusciousness of a Barry White.
- Bass (60 Hz-250 Hz): It makes things sound warm, but too much adds a boomy quality.
- Low-Mids (250-500 Hz): How full, hollow, or boxy/muddy the guitars sound.
- Mids (500 Hz-2 kHz): This is where you get the life of the vocal, but it can also get honky.
- Upper-Mids (2kHz-5kHz): 2,000Hz to 5,000Hz will aid in intelligibility. Too much = harshness.
- Highs (5 kHz-12 kHz) It adds air and sheen. Too much = sibilance.
Tip: If you can’t determine the exact source of the issue, sweep through the frequencies with a narrow band of EQ, and add some gain to each frequency until the problem becomes obvious. If one option sounds worse, that’s your problem frequency.
3. The Basic Vocal EQ Workflow
Step-by-step using your stand mixer:
- High-Pass Filter (HPF): Vocals nearly always want the HPF in. Turn this between 80 and 120 Hz to remove all that rumble, plosives, and mic handling noise.
- Trim Before You Amp: The product rule—deal with issues before you squish the sweet. If the vocal sounds cloudy, reduce 250-400 Hz by a couple dB. If it’s sounding a bit nasal, reduce at around 1 kHz.
- Add Presence and Air: After your subtractive EQ, add a little presence around 3 kHz-5 kHz for presence and 8 kHz-12 kHz for air to bring the clarity back. Be modest—small nudges have a big effect.
- Beware Language: If the “s” and “sh” sounds are jumping out too much, bring them back a little by dipping around 6 kHz to 8 kHz. A de-esser; use it after EQ.
Tip: Every guy has a different sound to his voice. A deep, male vocal won’t require the same EQ as a breathy, female voice. **Don’t memorize the settings—train your ears.
4. EQ Settings by Vocal Type
- Male Vocals:
- HPF around 80 Hz.
- Cut 250 Hz if muddy.
- Boost 4 kHz for presence.
- Touch of 10 kHz for sparkle.
Female Vocals:
- HPF around 100-120 Hz.
- Cut 500 Hz if boxy.
- Boost 3-4 kHz for clarity.
- Add air at 12 kHz if needed.
Spoken Podcast:
- HPF around 100 Hz.
- Keep EQ gentle; intelligibility is key.
- Slight boost at 2 kHz-4 kHz.
Group Vocals:
- HPF at 100 Hz.
- Light cuts pretty sharply around 300 Hz, clearing mud pretty effectively.
- Wide boost at 6 kHz for shimmer.
5. Common Mistakes to Avoid
- Over-EQing: Crank every dial fully and step back slowly now. Subtle EQ tweaks can make quite a big difference remarkably often in various mixes.
- EQing in Solo Mode: It may sound great on its own but could feel off in the mix—always assess vocals within the full arrangement.
- Ignoring the Room: Room acoustics affect what you hear. Mixing in a boomy or untreated room can fool your ears. Use reference tracks and headphones if needed.
- Same EQ for Everyone: Each singer is unique. Cookie-cutter EQ doesn’t work.
6. Analog vs. Digital EQ on Mixers
Analog EQ gives you tactile control—great for live settings where speed matters. Digital mixers offer precision and presets with visual feedback quite frequently underneath various operating conditions normally. The principles will stay the same whichever you use. Listen, adjust, and listen again.
Tip: Just use your hands and your ears. If it is not sounding right, just reset and start over; don’t get afraid.
7. Final Touches and Sweetening the Mix
After EQ, you might want to add compression or reverb, but EQ always comes first. If the EQ is right, everything else becomes easier. Remember to save your settings if you’re using a digital board or take a picture of the board for next time.
Tip: Record test takes and listen back on different speakers—studio monitors, car stereos, and headphones. Good EQ translates well across systems.
Conclusion: Sculpt, Don’t Carve
Emotional intelligence is akin to sprinkling seasoning on food; too little leaves it tasting flat, and too much makes it overwhelmingly salty. Enhancement skillfully focuses on pretty effectively augmenting some existing core elements beneath surface level in various complex ways. Your fingers will eventually grasp knobs intuitively with much diligent practice, and your ears will masterfully guide the rest of the process.
At Audio Mixers, we believe the best mixes are made with care, curiosity, and a willingness to learn. You don’t have to be an expert to get great vocal EQ. Enhancement focuses on augmenting existing elements pretty skillfully.
Happy mixing! Just remember: whenever in doubt, cut the mud, boost the sparkle, and trust your ears—that’s all.
————————————————————————————————
Need More Help? Check out our other tutorials, video guides, and expert Q&A forums at www.audio-mixer.com. Whether you’re running live sound or recording in your bedroom, we’ve got your back.


