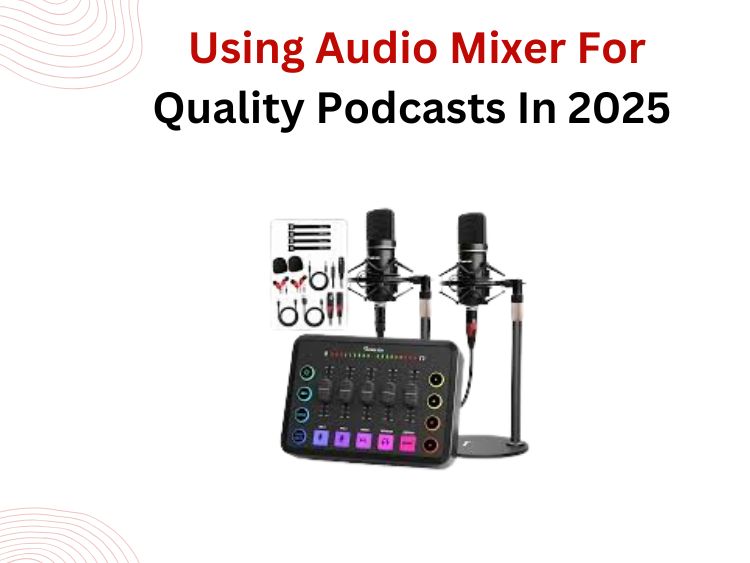
In the constantly changing world of podcasting, content is the primary focus. The sound is equally important, the secret weapon for studio-grade audio is a mixer. It does not matter if you are running a solo podcast, hosting interviews, or producing a multi-guest panel; a mixer can elevate your audio to professional quality. Sadly, many creators do not know how to use a mixer effectively.
This guide sets out to demystify the dials, sliders, and cables of a mixer so you can achieve high-quality sound tailored specifically to your needs. To know about the best audio mixers in Church, read – Using Audio Mixers in Church Sound Systems.
Step-by-Step: How to Use a Mixer for Podcasts
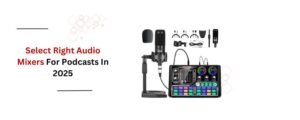
Choose the Right Equipment
Remember, not all mixers are compatible with podcasts. Pay attention to the following features:
- Inputs for microphones via XLR connectors (dynamic or condenser microphones)
- USB ports (to connect to a computer conveniently)
- Phantom power supply (+48V needed for condenser microphones)
- Output jacks for headphones
- Controls for Equalization (EQ) and gain
Recommendation: Beginners will appreciate the 5 Core PMX-702. It has Bluetooth and USB capabilities, dual 3-band EQs, and is quite affordable, fitting well in a podcaster’s toolkit.
Set Up Your Equipment
To get started, you will need:
- Microphones (Higher quality with XLR)
- A headset (Headphones to monitor real-time audio)
- Audio Cables (XLR, ¼” jack, USB as necessary)
- A computer or recorder
The configuration can be done as follows:
- Each microphone should be connected to an XLR input socket.
- The mixer’s output should be connected through USB or an audio interface to the computer.
- The mixer’s monitoring output should have headsets plugged into it.
For audio or sound effects, connect the phone or laptop via line-in or Bluetooth if the mixer supports it.
Gain Setting: Adjust Input Levels
Remember that gain is at the start of your signal chain. If this is not set properly, even the most expensive microphone will output poor sound.
Follow these directions:
- When speaking, use your typical podcaster volume.
- The gain knob should be increased gently until the signal is strong but does not exceed peak levels (watch for clipping LEDs).
- Repeater activity should be conducted for each mic.
For the best result, do not let peaks go above the red LEDs, it is better to be slightly lower than slightly higher. For the best collection of audio mixers, go through the 5 Core audio mixer collection.
EQ for clarity and warmth
As you know, EQ (Equalization) shapes your sound. Most mixers have:
- Highs (Treble) – Controls sharpness and sibilance.
- Mids – Vox tonality.
- Lows (Bass) – Depth and warmth.
For podcasts:
- Roll off excess low-end to avoid muddy sound.
- Tame overly bright treble for smoother tone.
- Slight mid-boost can enhance vocal presence.
Experiment in real time with listening through headphones.
Use Compression Wisely
Some mixers have built-in compression. This flattens volume spikes and keeps levels consistent.
A light touch…
- Avoid sudden loud bursts from laughter or shouting.
- Bring some quieter voices up.
Too much compression often results in flat, robotic-sounding voices. Less is more here.
Monitoring With Headphones
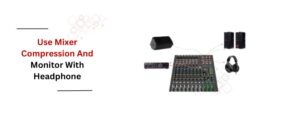
Always monitor the audio during recording.
Why?
- Distortion, background noise, or mic interference.
- Real time integration of EQ and gain settings.
- Live adjustments if needed.
To avoid bleed into the mic, switch to closed-back headphones.
Add Effects if Appropriate
Some mixers have reverb, delay, or voice FX built in. Excellent for music, but have a heavy hand with podcasts.
Though, subtle reverb or presence enhancements can help:
- Narration podcasts sound richer.
- Yarn and storytelling podcasts create an enchanting soundscape.
Record Appropriately
You can use the USB output or the direct-out on the mixer to connect it to a computer or portable recorder. Select multitrack recording if you have the option, as this enables editing of each microphone in post-production.
Make sure to check the levels in your software, whether it is Audacity, Adobe Audition, Garage band, or any other software, before going live.
Additional Steps After Recording
Your audio equipment can simplify the process, but there is always room for post-production work to enhance the audio quality.
- Remove noise or any silent periods of the audio track.
- Balance the stereo image.
- Add music beds, intro’s & outro’s
- Normalize the volume throughout the episode.
Using a mixer provides a better starting audio point, and it’s possible to make alterations to brighten it even further.
Final Thoughts
A mixer does not only regulate sound; it transforms your podcast’s identity. It gives you the ability to:
- Manage vocal prominence
- Change settings as required
- Reduce editing time
- Provide top-tier audio during every session
In the case of interviewing guests or narrating by oneself, knowing how to use a mixer is what separates a serious podcaster from a hobbyist. To buy top-performing audio mixers, buy 5 Core MX 16CH L 6 Channel DJ Mixing Board Bluetooth USB Analog.
So plug in and level up – let the magic happen behind the mic.