Wireless mics have changed the game for live sound. They make everything—from shows and presentations to small projects—look and sound way more professional and polished. But to get the best out of your wireless mic setup, you’ve got to know how to connect it to an audio mixer and use it properly. Don’t worry if you’re just starting out or setting up sound for a small event. This article will walk you through how to use an audio mixer with wireless mics in a simple, straightforward way. And if you’ve been doing this for a while, there might be a few tips here to help you fine-tune your setup even more.
What Does An Audio Mixer Do?
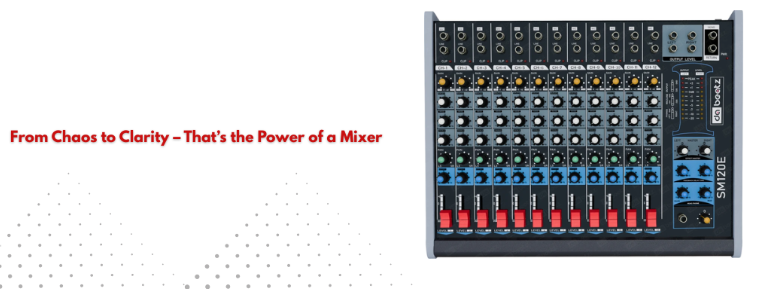
When you plug in different audio sources, an audio mixer, also called a soundboard or mixing console, adjusts the signals’ levels, tones, and effects before sending a balanced signal to speakers or recording gear. Mixers are often used in movies, live sound, studio recording, and television.
New to mixers? Start with our beginner’s guide to using an audio mixer.
What Is A System For Wireless Microphones?
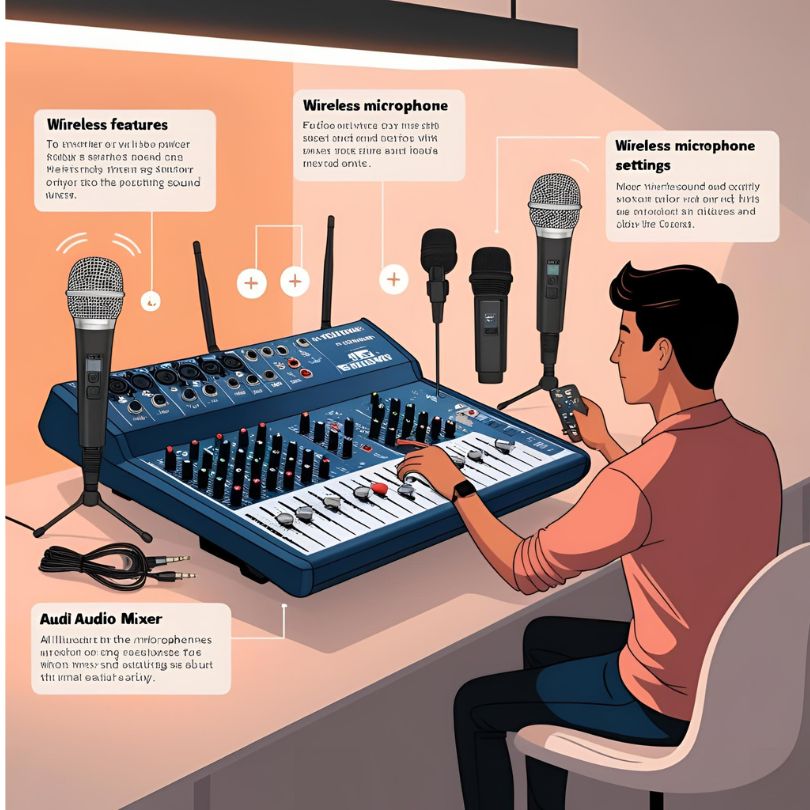
Usually, a wireless microphone device has these parts:
- A microphone (headset, hand-held, or lapel)
- A transmitter that is either built into the mic or attached to it
- A receiver is a gadget that picks up a radio signal and sends it out as sound
Like a fixed microphone, the receiver is hooked up to the sound mixer.
How To Use A Mixer With Wireless Microphones, Step By Step
1. Set up the Wi-Fi system
- Make sure the receiver can see the microphone’s transmitter from where it is placed.
- Most systems work in the UHF or VHF bands, and interference or obstructions can mess them up.
- Turn on the receiver after plugging it in.
- Make sure that the frequency or channel on both your microphone and receiver is set to the same thing.
- For ease of use, many devices auto-sync or pair via infrared.
2. Connect the Receiver to the Mixer
- Most receivers have outputs that are either XLR or 1/4-inch TRS.
- A good audio connection should be used to connect the receiver’s output to a mixer’s input channel.
- Using an XLR cable, connect your receiver’s balanced XLR output to the mixer’s mic input.
- The only way to connect it to a mixer is with a TRS cable if it only has a 1/4-inch output.
- Forget about gain staging problems by making sure you plug into the right type of input.
Shopping for gear? Explore the essential features to look for in an audio mixer before you invest.
3. Set Gain and Channel Levels
- Once the two are linked, the gain needs to be set.
- Gain is the first level of control that boosts the sound going into the mixer.
- Ask the person who is using the mic to speak or sing at a normal level.
- Slowly raise the gain knob on the mixer’s input channel until you see signal levels just below peaking (ideally around 0 dB on your meter).
- Avoid going into the red—this causes distortion and can damage speakers.
- Once the gain is set, use the channel fader to add the mic to the mix.
4. EQ and Effects (Optional but Helpful)
Most mixers have simple EQ knobs (high, mid, low). Change the sound with these:
- Cut low frequencies (80–120Hz) to eliminate handling noise or rumble.
- Boost the mids to make speech clear.
- Add a little high-end for sparkle if it’s a singing mic.
- Reverb and compression are features that some mixers let you use to improve the quality of your vocals.
5. Monitor for Feedback and Interference
Wireless mics are subject to interference. Here are some ideas:
- Avoid using bands that are busy or in use by neighborhood TV stations.
- Use diverse receivers with dual antennas for better signal stability.
- Before going live, you should always do a sound check to find feedback loops and fix them.
- If feedback happens, lower the gain on the channel or move the microphones and speakers.
- Do not point a microphone straight at speakers.
6. The Right Way to Use Several Wireless Mics
- If you have more than one wireless mic, each one needs its own receiver, frequency, and mixer channel.
- If you use two mics on the same frequency, they will mess up your sound.
- Label each mic and mixer channel so you can quickly identify and control them.
- Some mixer features, like subgroups and aux sends, let you control individual mic outputs or send them to certain monitors.
Still, choosing your first mixer? Here’s how to pick the perfect audio mixer for your needs.
Pro Tips For A Smooth Setup
- Test before the event every time. This includes checking each mic’s sound, range, and battery life.
- Mute unused mics to reduce background noise and feedback risk.
- Use fresh or fully charged batteries—wireless dropout mid-performance is a nightmare.
- Keep your mixer organized. Color-code or label your channels, especially when using multiple mics and instruments.
- Use a headphone jack on your mixer to solo and check individual channels during a performance.
Conclusion
Using an audio mixer with wireless microphones may seem intimidating initially, but once you understand the components and process, it becomes second nature. A well-set-up system ensures that your event sounds professional and smooth without the chaos of dropped signals or unclear audio. Whether managing a church service, running a school play, or hosting a podcast, mastering your mixer and wireless mics will elevate your sound game to the next level. You can also explore platforms like 5 Core’s business portal, a B2B hub for pro audio gear and partnership opportunities for retailers, distributors, and resellers.